How to Use a Clear Water Level Hose
A clear water level hose uses the water surface to transfer the same horizontal level between two points. Transparency alone does not determine the result: the tube must be free of trapped air, the water must settle, and both ends must be open when taking a reading. This guide covers simple level transfer and the product details to check before ordering.
The Ertunç clear water level hose family includes 6, 8 and 10 mm options. Do not confuse it with reinforced garden hose or coloured transparent hose ranges. For water-level work, a clearly visible water surface and an uninterrupted tube are priorities. Appearance does not establish a pressure rating or drinking-water approval.
What is a water level hose used for?
Before transferring a starting mark to another location, define what you want to match: the level of the water surfaces or a particular height above the ground. Transferring the same elevation to two walls is not the same as measuring an equal distance above two different floor levels. On sloping ground, marking the same height above the ground on both sides may not produce a common horizontal level.
This method alone does not verify structural safety, drainage gradient or compliance with a project's tolerances. Where specified accuracy is required, use suitable surveying equipment and a qualified operator. The examples here are not a site acceptance test or an accuracy guarantee for an Ertunç product.
Choosing between 6, 8 and 10 mm options
First confirm what the listed size represents and check the actual internal and external diameters. If the hose must fit a connector, provide the connector dimensions rather than only asking for “8 mm hose”. A thicker wall does not automatically make a level reading more accurate. Consider transparency, the ability to hold the end upright and the intended route together.
- 6 mm water level hose: check the product dimensions and the continuous length required.
- 8 mm water level hose: when replacing an existing hose, compare the ends and any connector dimensions.
- 10 mm water level hose: decide whether the larger option is needed for your route and working method.
This list is not a ranking of quality or accuracy. People doing the same job may still have different handling, storage and equipment requirements.
Preparation and transferring the level
- Uncoil the hose and inspect it for flattened sections, cuts and leaks. Position the ends vertically where you can read them.
- Fill it carefully with clean water and remove trapped air bubbles. Do not start the flow by sucking on the tube.
- Bring both ends alongside each other and keep them open. Check that the water surfaces align once the water has settled.
- Keep one end at the starting reference while moving the other to the target point. Avoid losing water during movement; both ends must be open for the reading.
- Bring the water surface at the starting end to the reference mark. Read the settled surface at the target end at eye level and mark it.
- Return to the starting point to check the reading again. If it has changed, investigate before accepting the mark.
Why might the readings be inconsistent?
If there is trapped air, a closed end, water loss or a pinched section, prepare the setup again. Also check whether the ends are being held differently or whether the water was marked before it stopped moving. Work under similar conditions at both ends rather than leaving one section on a hot surface and the other in shade.
Keep a simple record: label the starting mark, note the direction of measurement and read the same point twice. If the first and repeat readings disagree, do not simply average them and continue. Inspect the entire tube for a visible problem first. This short repeat check helps prevent an incorrect reference from being carried through to every subsequent point.
Plan the hose length around the actual route
The straight-line distance between two points may not be the complete hose length required. Allow for the route along the ground, corners and the length needed to lift the ends to reading height. If the hose only reaches when stretched tight, the setup is not comfortable to work with. State the continuous length separately from the total quantity.
For example, if two teams need separate hoses, do not specify only the total metres. State the number of pieces and the length of each one. Roll lengths, cutting options and delivery format must be confirmed in the quotation. Consult the price list for commercial information; this article does not promise stock or a particular ready-made roll length.
Ordering and delivery checks
A useful request format is: “Clear water level hose; size … mm; … pieces × … metres, each continuous; use: transferring levels; delivery town/country …”. When sending a photograph of an existing sample, place a ruler beside it. Apparent size in a photograph alone does not establish the actual diameter.
On delivery, compare the product name, size and individual lengths with the written quotation. Report dirt that obstructs visibility, deep scratches, crushed ends or an interrupted length before use. When finished, drain the water, coil the hose without sharp folds and check its clarity before the next use. See the hose size guide for other diameter terminology.
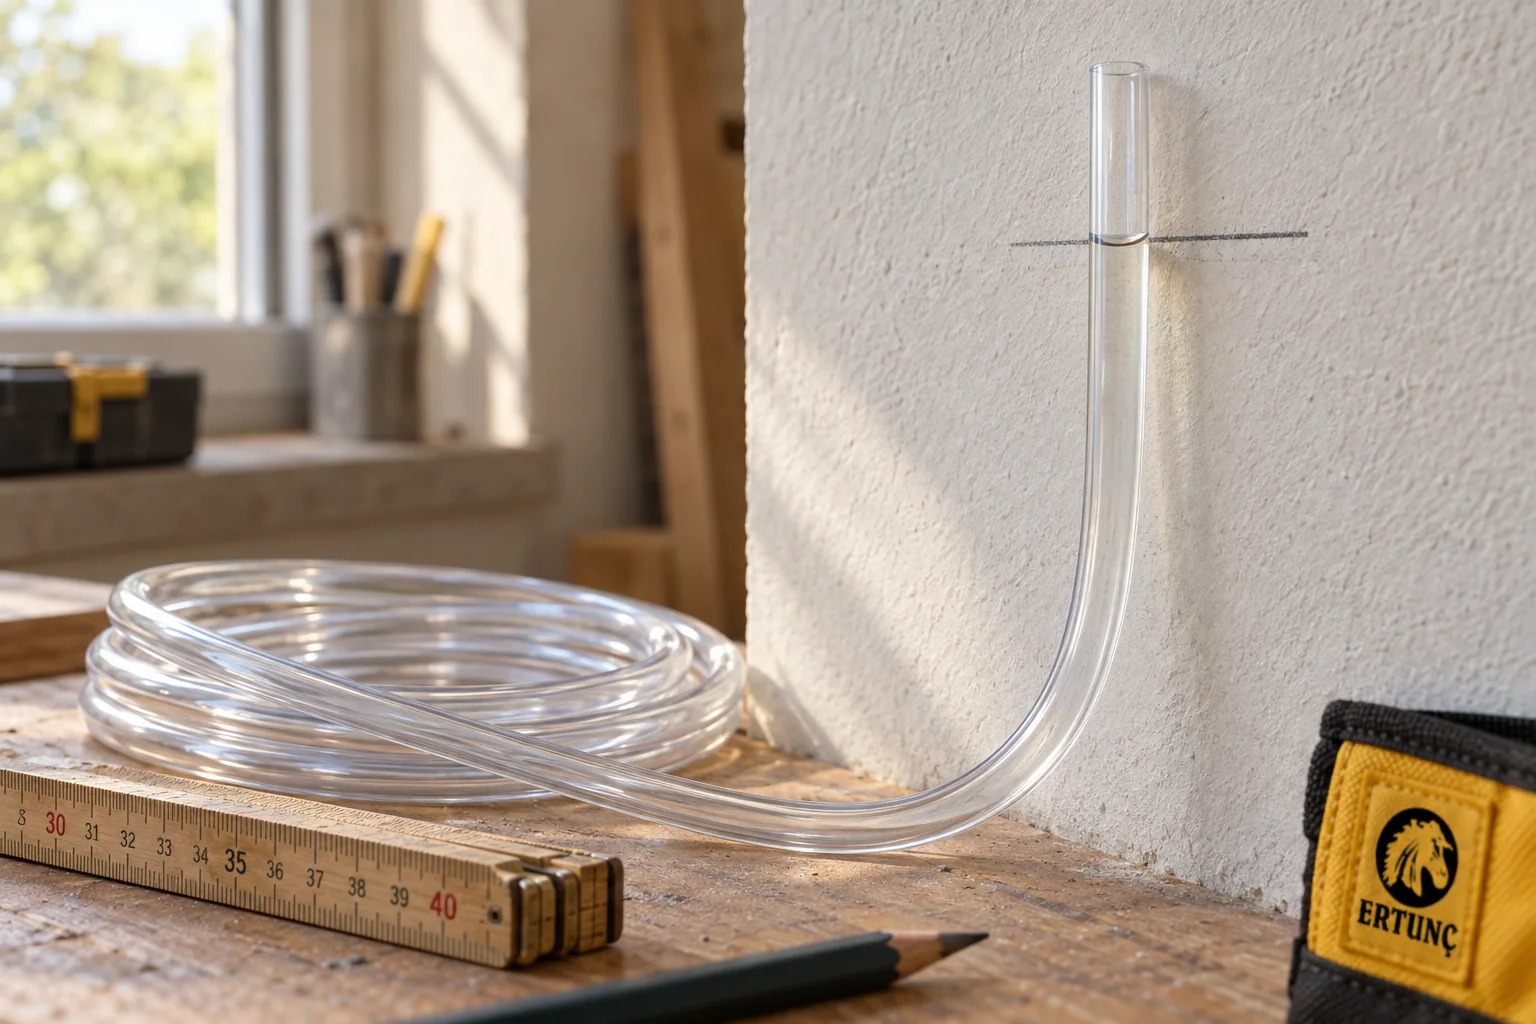
The cover image is an AI-generated illustration, not a record of an actual installation or product test.
Frequently Asked Questions
Must both ends of a water level hose be open?
Yes. Both ends must be open to the atmosphere when taking a level reading. If the ends were closed to prevent spilling during movement, reopen them before measuring.
Which gives more accurate readings: 6, 8 or 10 mm hose?
The listed size alone cannot establish an accuracy ranking. Actual dimensions, absence of trapped air, visibility of the water surface and the reading method must be considered together.
Is water level hose the same as garden hose?
No. Clear water level hose is a separate product family that allows the water surface to be seen. Do not assume reinforced or coloured garden hose is suitable merely because the size is similar.
Is the distance between the two points enough hose?
Not always. Include the actual route, bends and the length needed to raise the ends to reading height. Specify any continuous-length requirement when ordering.
Compare Products and Sizes
Request a written quotation stating the model, size, required length and destination.