Pipe Fittings
Poly pipe joint leaking? Check the compression fitting and seal
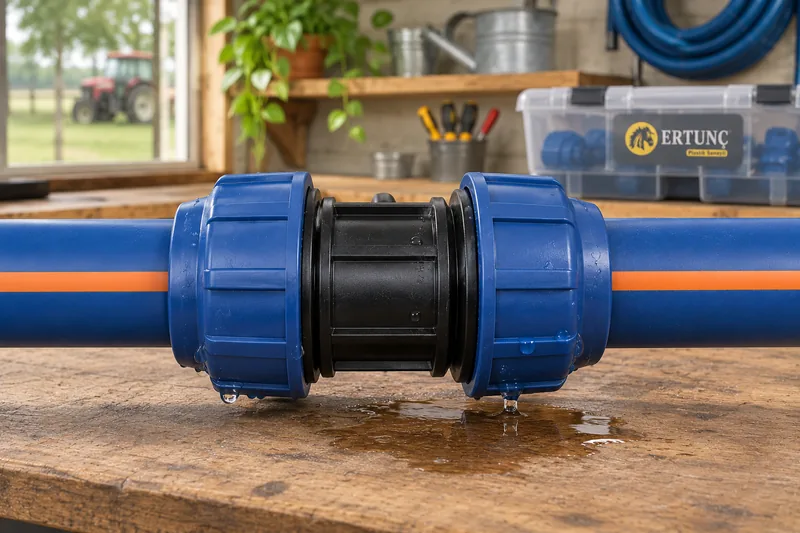
A dripping joint does not always mean a loose nut. The wrong pipe size, a scratched surface, a displaced seal or strain on the fitting can produce similar symptoms. Identify where water first appears before deciding which part needs attention.
Quick answer
Stop the pump, prevent it restarting, isolate the water supply and safely release line pressure. Never loosen a fitting under pressure. Separate a leak at the pipe entry from a leak at a threaded adapter or a cracked body; each needs a different response.
Symptoms and checks
| Symptom | Check | Next step |
|---|---|---|
| Drip at pipe entry | Outside diameter, seal and pipe surface | Confirm compatibility; replace damaged parts |
| Wet threaded connection | Thread type, cracks and sealing method | Follow the instructions for that connection |
| Crack in fitting body | Impact or load on the joint | Replace the body and remove the cause |
| Leak when the line moves | Alignment, tension and support | Support the pipe without loading the fitting |
1. Find where water starts, not just where it drips
After releasing pressure, dry the outside of the connection. Water can travel along the pipe before collecting underneath the nut. A pipe-entry seal, a threaded adapter and a cracked body are separate potential leak points.
Use the coupling, reducer and threaded adapter guide to identify the component. Do not return a cracked body to service by tightening it further or wrapping it in tape.
2. Does the fitting actually match 32 or 40 mm pipe?
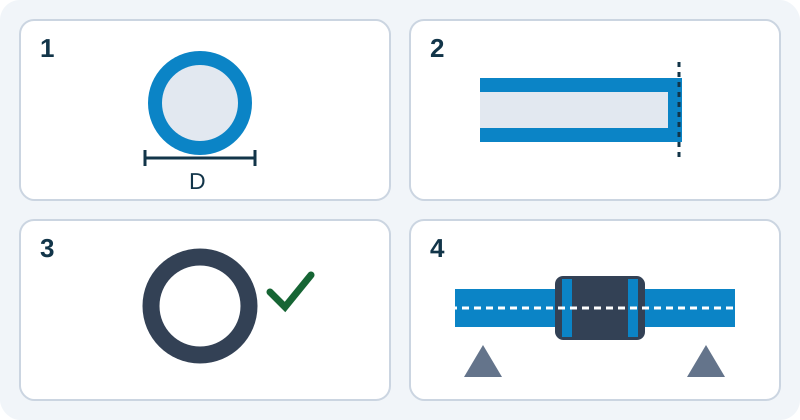
On the compression side, the relevant size is the pipe’s outside diameter. The apparent width of the nut or the inch size of a threaded end does not confirm compatibility. Check the product marking and pipe measurement together; a deformed end can give different readings in different directions.
32/10 blue pipe and 40/10 blue pipe need matching connections. Join unequal diameters with an approved reducing fitting, never by building up the smaller pipe with tape. For line selection, see the 32 versus 40 mm comparison.
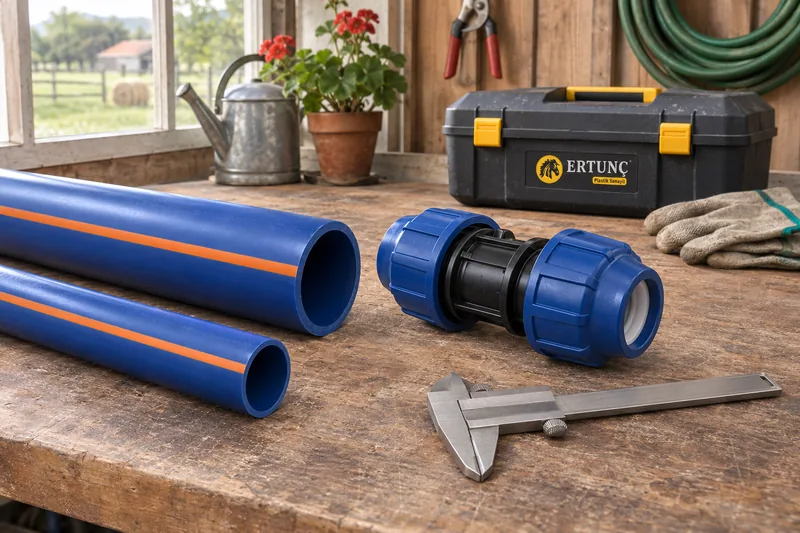
3. Inspect the cut and sealing surface
The end should be clean and square to the pipe axis. Deep scratches, crushing or damage where the seal contacts the pipe can cause leakage. If a damaged section must be removed, enough pipe must remain to reach the fitting without tension; do not pull it into place.
Requirements for chamfering, lubrication and internal support depend on the fitting model. Use suitable tools and the specified insertion depth. A method intended for another fitting system is not a substitute for your product’s instructions.
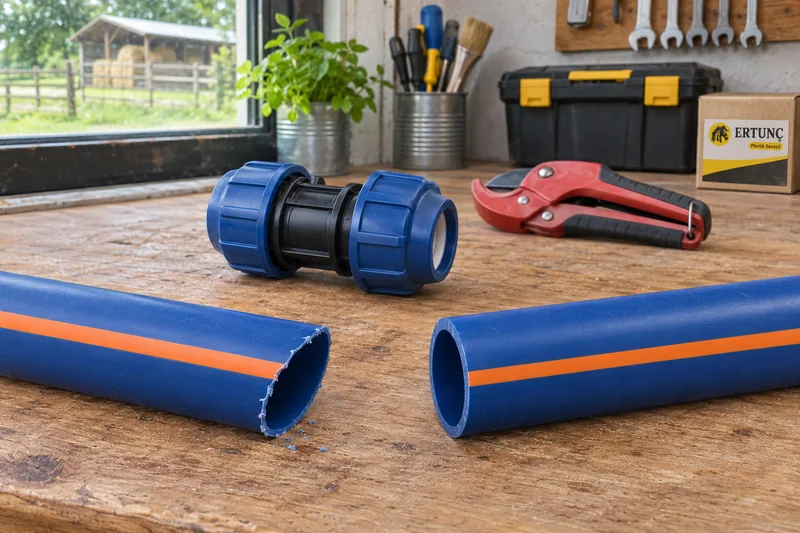
4. Is the seal clean, intact and correctly positioned?
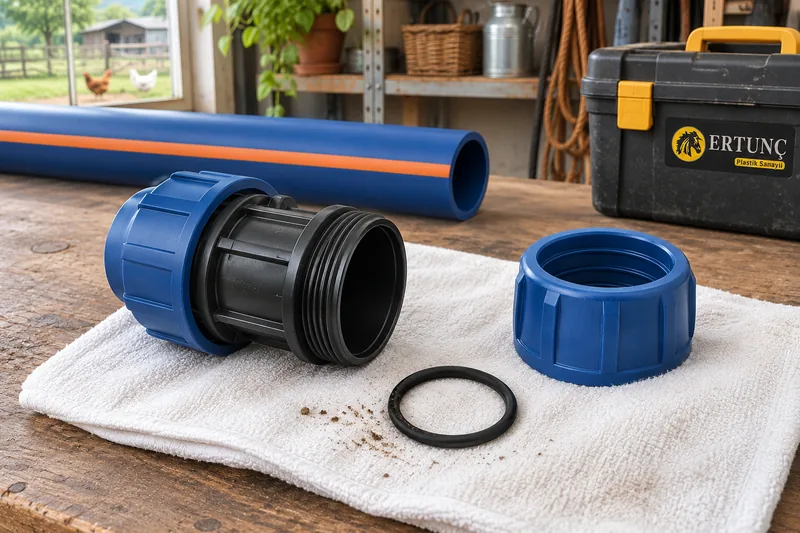
Where the manufacturer permits disassembly, check for grit, a pinched or cut seal, wear and incorrect part placement. Similar-looking seals and gripping parts from another model are not automatically interchangeable. Replace damage with a compatible spare.
Do not apply arbitrary oils or chemicals to a seal. Thread tape on a compression nut cannot repair the seal around the pipe. A threaded adapter is a different joint: its sealing method must suit its thread and materials.
5. Remove sideways load from the connection
Coil spring-back, a short pipe run or poor support can pull a joint out of line. Arrange the pipe so it enters straight and use a suitable fitting for a change of direction. Do not use the nut to force misaligned pipe into position.
Choose from the coupling range by both size and application conditions. The rating of one component does not establish the permitted conditions for the complete system.
6. Reassemble and restart under a controlled procedure
Follow the assembly order, insertion depth and tightening method for the actual product. There is no universal number of turns or rule that every compression fitting needs a wrench. Fill and check the line using the system’s commissioning procedure.
If leakage continues, stop again and release pressure. Have a competent installer inspect the joint before applying more force. When requesting replacement parts, provide the outside diameter, fitting model, leak location and a clear photograph of any damage.
See the coiled-pipe connection guide for preparation before assembly.
Related products
32x32 Coupling — Blue PN16 Series
Connection option for compatible 32 mm outside-diameter pipe; verify model and service conditions.
40x40 Coupling — Blue PN16 Series
Connection option for compatible 40 mm outside-diameter pipe.
32 mm · 10 ATÜ Blue Polyethylene Pipe
Dimensions, coil length and list information for the 32/10 product.
40 mm · 10 ATÜ Blue Polyethylene Pipe
Dimensions, coil length and list information for the 40/10 product.
Frequently asked questions
Will tightening a leaking fitting more fix it?
Not necessarily. More force cannot correct a wrong diameter, cracked body or damaged seal and may cause further damage. Release pressure, identify the cause and follow the model’s tightening instructions.
Should I put thread tape on the compression nut?
Where a seal around the pipe provides the seal, tape on the nut does not repair that seal. A threaded adapter is a separate connection with its own sealing requirements.
Can 32 mm pipe go directly into a 40 mm fitting?
Do not assume compatibility. Use an approved reducer or unequal-size fitting; do not fill the gap with tape or improvised seals.
Can I reuse the old seal?
Check the model’s reuse instructions and the seal’s condition. Do not reuse a cut, worn or deformed seal; select a compatible replacement.
Two related guides
32 or 40 mm pipe from the wellhead to a tank?
Consider line length, demand and connections together.
Couplings, reducers and threaded adapters
Identify the fitting before selecting a replacement.
Request a quote with your product and size
Include the product size, coil count, line length and delivery location so we can review a suitable option.
Send your quote requirements