Pump Connections
Why does a pump hose keep coming off? Check the fitting and clamp
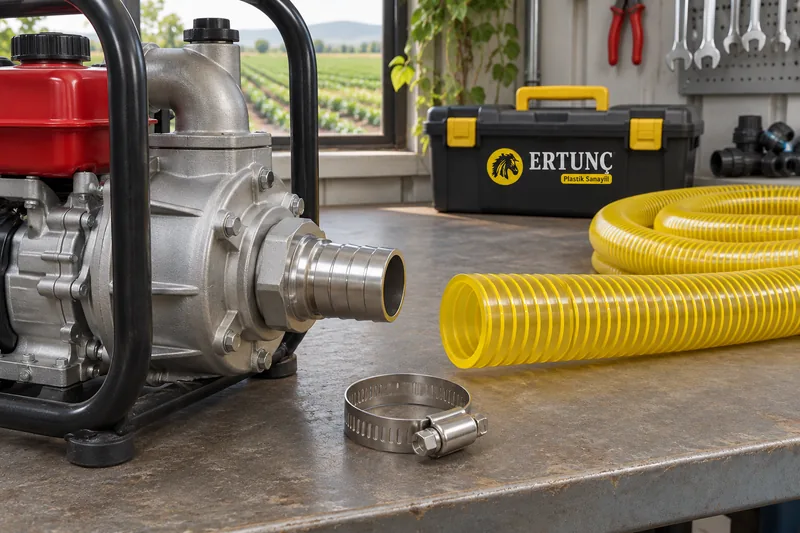
Refitting the hose and tightening the clamp a little more may not prevent another separation. Hose, fitting and clamp form one assembly. If a size or component is unsuitable, extra tightening force alone is not the answer.
Quick answer
Stop the pump, prevent restarting and safely release line pressure. Do not try to hold a moving hose by hand. Check bore-to-tail compatibility, clamp type and working range, insertion and any pulling load on the connection.
Symptoms and checks
| Symptom | Check | Next step |
|---|---|---|
| Hose very loose on the tail | Inside diameter and tail size | Select matching parts; do not fill gaps with tape |
| Clamp tightens but does not hold | Range, mechanism and position | Confirm the correct type, range and condition |
| Separation when the line moves | Weight, tension and vibration | Support the line and relieve the route |
| Cut or crushed hose end | Previous assembly damage | Renew damaged material appropriately |
1. Separate pump thread size from hose bore
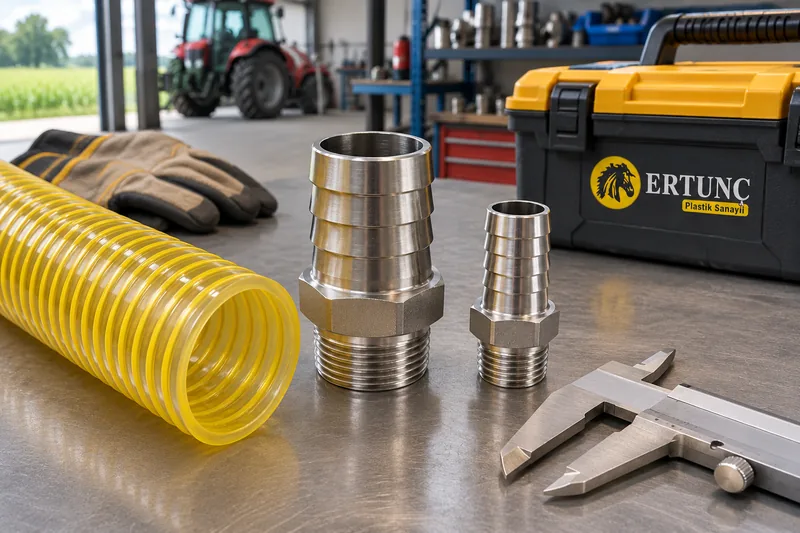
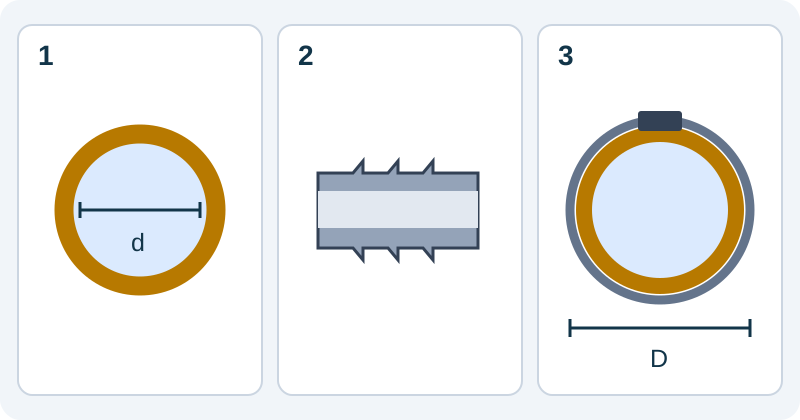
Pump-port thread size, hose-tail size and hose inside diameter are different checks. Identify both ends of an adapter separately. Do not match components by appearance simply because they share an inch description; verify dimensions and manufacturer compatibility.
Do not fill a loose fit with tape or improvised packing, or force an undersized hose on by heating it. See the pump outlet, fitting and inside-diameter guide for the measurement distinctions.
2. Check clamp type as well as size
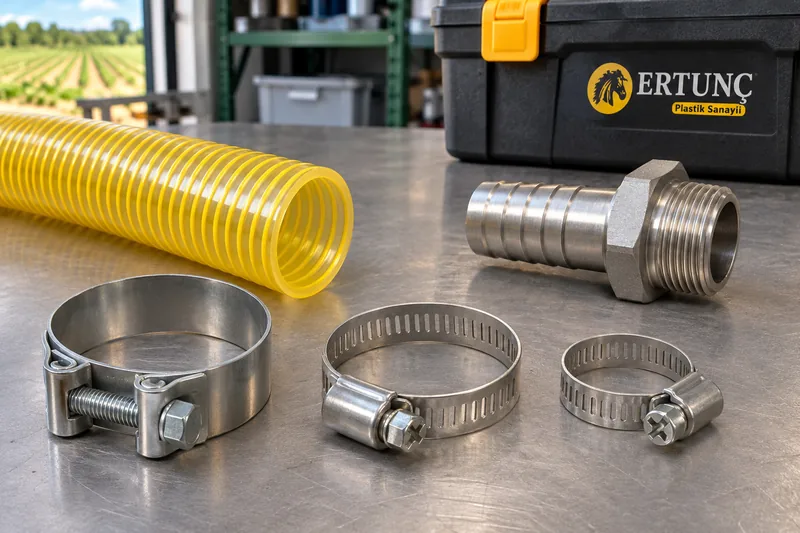
The clamp’s working range must suit the outside diameter of the hose installed on its tail. This is not the hose bore. Band design, screw or bolt mechanism, material and service conditions all matter.
Stripped threads, a distorted housing or corrosion cannot be corrected by more force. Use the manufacturer’s torque and suitable tool; there is no universal turn count. A second clamp is appropriate only where the connection design and instructions allow it.
3. Has the hose reached the required insertion depth?
The hose must reach the specified depth, and the clamp must sit in the manufacturer’s designated area with fitting support beneath it. Squeezing an unsupported hose end does not make a proper connection. Exact position, clamp count and torque depend on the assembly design.
Spiral construction affects connection selection. Do not assume any clamp in a photograph works on every spiral hose. Use the matching instructions of both hose and fitting manufacturers.
4. Is the filled hose pulling on the fitting?
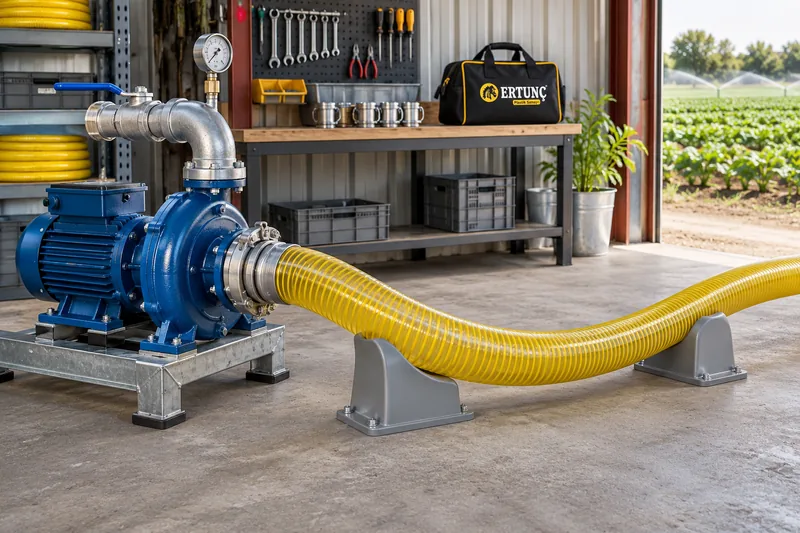
A water-filled line, an unsupported span and pump movement can load the connection. Provide suitable hose support and remove tight turns, tension and twisting. The joint should not carry the entire line.
Repeated jerking or separation during start and stop cycles also calls for a system review. For visible narrowing, see suction hose collapse; for reduced output, use the low-flow pump checks.
5. Inspect end damage and worn fittings
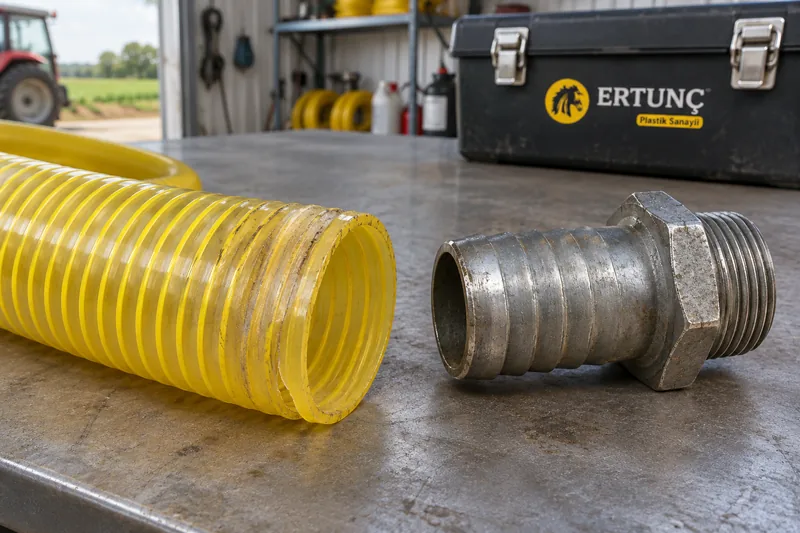
Cuts, permanent crushing, cracks, worn tails and damaged clamps need assessment before reuse. Tightening over an old clamp mark does not establish that the hose is sound.
Renewing a damaged section depends on product instructions and remaining length. Do not stretch a line that becomes too short. Choose compatible parts instead of trying to create temporary grip with arbitrary oils or adhesives.
6. Prepare the complete information for selection and reassembly
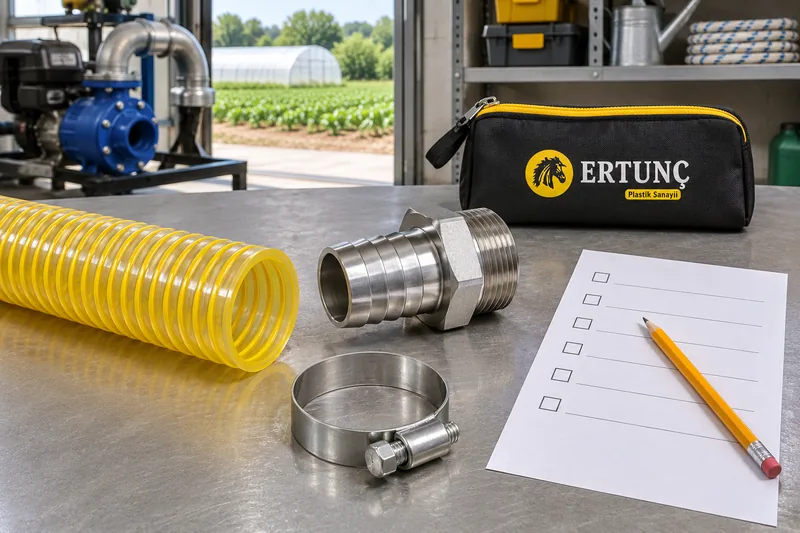
For yellow suction hose or fitting enquiries, provide bore, existing tail, clamp size range, fluid, service conditions and a photograph of the route. Specify any continuous-length requirement separately from the total coil quantity.
A competent person should assemble the selected parts according to their instructions and follow the system’s commissioning procedure. This guide does not prescribe a universal pressure or pull-off test. It concerns water lines; gas, steam and chemical duties require their own approved assemblies.
Related products
1 1/2″ Standard Yellow Suction Hose
Dimensions and packaging for the 1½ inch option.
2″ Standard Yellow Suction Hose
Dimensions and packaging for the 2 inch option.
3″ Standard Yellow Suction Hose
Dimensions and packaging for the 3 inch option.
4″ Standard Yellow Suction Hose
Dimensions and packaging for the 4 inch option.
Frequently asked questions
Will two clamps solve the problem?
Not on every connection. Tail length, clamp type and the specified assembly must allow it. A second clamp cannot correct a wrong diameter or damage.
Do I choose clamp size from the hose inside diameter?
Assess the working range against the outside diameter of the hose installed on the fitting. The bore is a separate check for tail compatibility.
Should I oil the hose to install it?
Use only an assembly aid permitted by the relevant manufacturer. Arbitrary oil or chemicals may affect materials and retention.
Can I hold a hose that is coming off?
No. Stop the system, prevent restarting and safely release pressure. Do not handle a moving or pressurised connection.
Two related guides
Submersible pump running but delivering little water
Check flow problems beyond the connection.
Why does a suction hose collapse?
Distinguish physical narrowing from fitting separation.
Request a quote with your product and size
Include the product size, coil count, line length and delivery location so we can review a suitable option.
Send your quote requirements